Unity (new) Input System是Unity官方于2018年全新引入的一套跨平台、高易用性、高扩展性的新生代输入处理框架。关于如何在新项目中使用新输入系统,官方文档和大部分博客都给出了相当完善的解决方案,前任之述备矣。
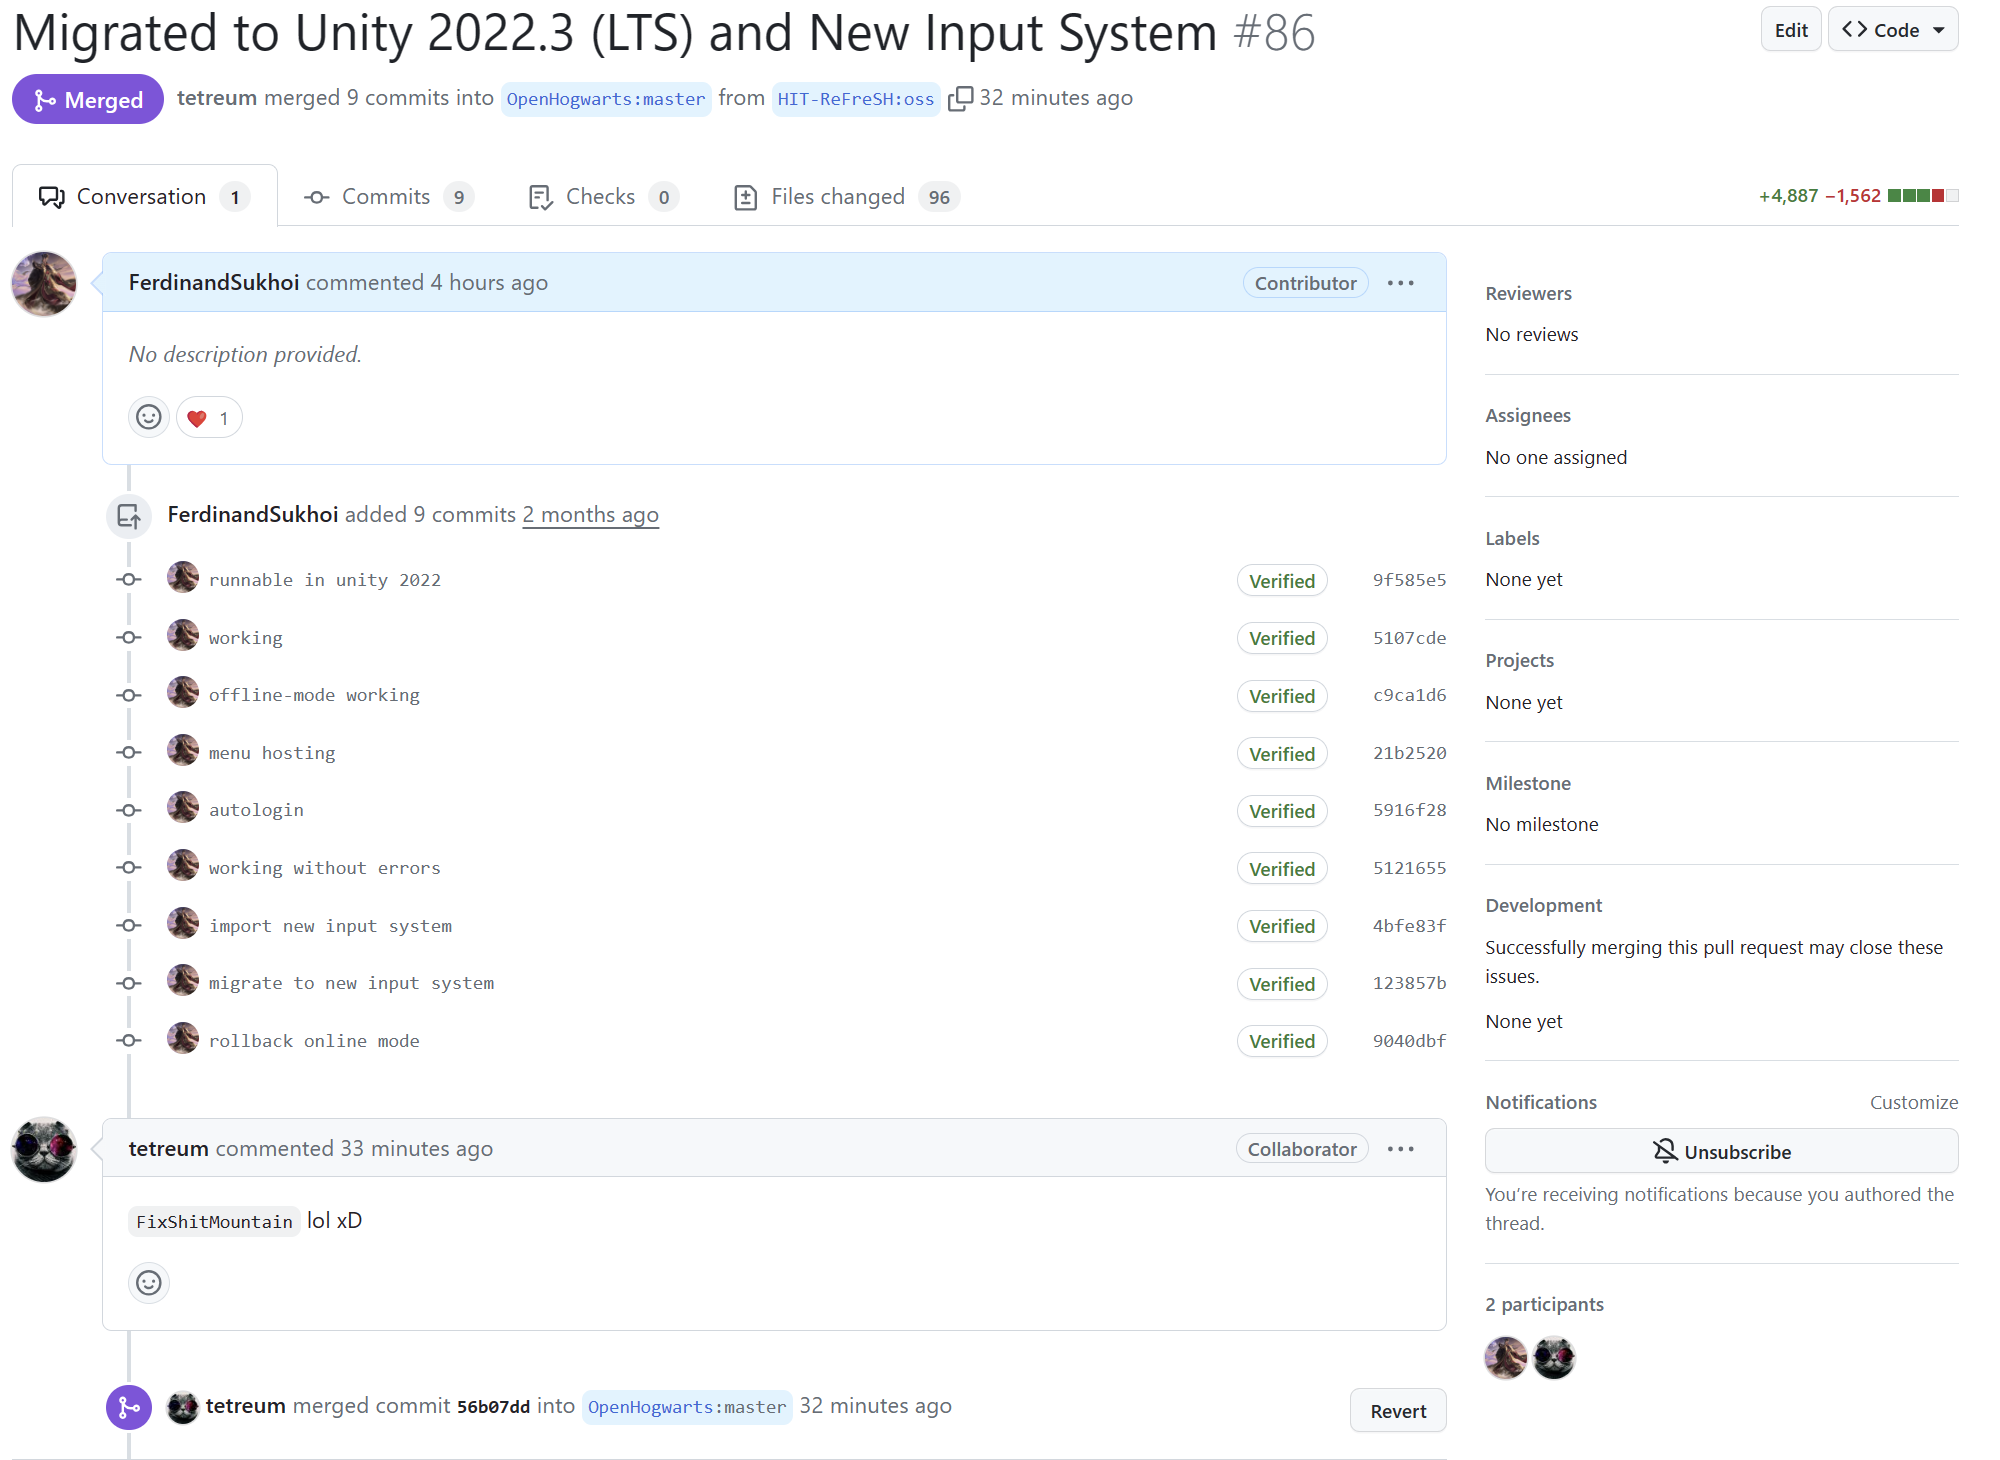
然而,网络上却鲜有关于如何从旧的InputManager等组件快速迁移到Input System的相关技术文章。对于大部分的旧项目而言,迁移以便使用新特性,实现跨平台等功能非常重要。在这两天,我将一个较为大型的开源游戏OpenHogwarts/hogwarts: Hogwarts (Harry Potter) open sandbox game made in Unity迁移到Unity 2022和新输入系统(原始PR),将实践的过程简要整理成本文,希望可以对后来者有所帮助。
碎碎念:原作者居然啥都没问,直接Merge了?也不知道有没有Bug😶 (吐槽还被发现了
前提条件
请确保你对新旧两套输入系统都有一定的了解,明白如何基于InputActionAssets,使用新输入系统构造一个应用程序。 关于如何迁移,官方已经给定了详尽的API参考,这是我们后续工作的关键基础。
由于旧的InputManager大量基于静态方法,为了尽可能地保证调用变化不大,本迁移引入了一个新MonoBehavior:InputSystemAgent,它提供了一系列静态方法实现对旧的InputManager的兼容。请注意,这是一种折衷,而非完美的解决方案。如果可能,我建议完全重构整个输入系统,而不是像这样小修小补。
创建InputActionAssets
请在Unity Package Manager中安装好你的Input System包,然后创建一个InputActionAssets。它应该拥有一个actionMap,里面将会包含各种动作。
一般地,旧的InputManager使用两种输入信息:
GetKey或者GetMouse等,按钮类型的调用GetAxis,一般是几个为一组,控制移动
在本次迁移中,它们被我分别转化为两类Action:
KeyXXX: 类型为Button。用于转化按钮调用,其中鼠标的动作被我转化为KeyLMaus和KeyRMaus(拼写有简化),其他的就直接是键名,如KeyEsc。**请注意,这种转化方式背离了Input System的设计初衷,这些Action本应被命名为对应的动作!**�但是我们现在的目标是快速迁移一个旧系统,这是必要的折衷办法。XXXMove: 任意取名。类型是Value,数据类型是- 如果是一个轴,那就是
Axis,一维轴一般是滚轮,对应于<Mouse>/scroll/y - 如果是两个轴,那就是
Vector2,二维轴一般是平面移动或视角移动,可以绑定到Mouse Delta或者WASD、方向键之类的东西 - 如果是三个轴,那就是
Vector3,三维轴用的很少,一般就是飞行,可以绑定到WASD+Space之类的东西
- 如果是一个轴,那就是
编写InputSystemAgent
该Component提供了一系列静态方法实现对旧的InputManager的兼容。
基础设置
为了方便自动绑定事件处理程序,我并没有使用Unity Editor自动生成关于InputActionAssets的C#类,而是直接使用裸的[SerializeField] private InputActionAsset defaultInputAsset;,后续需要记得在Scene里赋值下。
由于每次绑定需要订阅三个事件,我写了一个工具方法:
private void RegisterHandler(InputAction action, Action<InputAction.CallbackContext> handler)
{
	action.performed += handler;
	action.started += handler;
	action.canceled += handler;
}
后续会编写ConfigureActions方法来配置事件;更新Awake后,现在文件的开头大概是这样:
static InputSystemAgent _instance;
public static InputSystemAgent Instance => _instance ??= FindObjectOfType<InputSystemAgent>();
[SerializeField]
private InputActionAsset defaultInputAsset;
private void Awake()
{
	_instance = this;
	EnhancedTouchSupport.Enable();
	var actions = defaultInputAsset.actionMaps[0].actions;
	defaultInputAsset?.Enable();
	ConfigureActions(actions);
}
按钮事件的处理
按钮事件并非简单的bool类型,依照官方迁移文档,它还提供了wasPressedThisFrame等好用的API来对应原有的InputManager.GetKeyDown等事件,因此,需要在事件处理程序的InputAction.CallbackContext中提取原始的ButtonControl,以访问这些对旧InputManager兼容的API: context.control as ButtonControl。
最终,我定义了一个私有字典Dictionary<string,ButtonControl?>来储存这些原始信息,然后编写放啊并根据事件名称,自动为这些事件创建处理程序:
if (action.name.StartsWith("Key"))
{
	var keyName = action.name["Key".Length..];
	_key[keyName] = null;
	RegisterHandler(action, CreateOnKeyEvent(keyName));
}
...
public static readonly IReadOnlyDictionary<string, ButtonControl?> Key => Instance._key;
private readonly Dictionary<string, ButtonControl?> _key = new();
public static bool GetKey(string key) => Key[key]?.isPressed ?? false;
public static bool GetKeyDown(string key) => Key[key]?.wasPressedThisFrame ?? false;
public static bool GetKeyUp(string key) => Key[key]?.wasReleasedThisFrame ?? false;
...
private Action<InputAction.CallbackContext> CreateOnKeyEvent(string key)
{
	void _handler(InputAction.CallbackContext context)
	{
		_key[key] = context.control as ButtonControl;
	}
	return _handler;
}
...
最终,使得InputSystemAgent提供了Key,GetKey,GetKeyDown,GetKeyUp四个静态公开接口,实现了对InputManager相关方法的兼容性。如果你有其他需求,可以效仿这里添加新的对外接口,记得参考官方迁移文档!
轴事件的处理
这个其实没什么好说的,但是我这里图省事,加了一些为这些事件创建处理程序的模板,为此加入了一些奇怪的东西,以实现对值类型的安全引用:
public class Reference<T>
    where T : struct
{
    public T Value { get; set; }
}
模板代码如下:
...
public static float DesiredDistance => Instance._desiredDistance.Value;
public static Vector2 ViewMove => Instance._viewMove.Value;
public static Vector2 NormalMove => Instance._normalMove.Value;
public static Vector3 FlyMove => Instance._flyMove.Value;
private readonly Reference<float> _desiredDistance = new();
private readonly Reference<Vector2> _viewMove = new();
private readonly Reference<Vector2> _normalMove = new();
private readonly Reference<Vector3> _flyMove = new();
...
private static Action<InputAction.CallbackContext> CreateValueEvent<T>(Reference<T> writeTo)
	where T : struct
{
	void _handler(InputAction.CallbackContext context)
	{
		writeTo.Value = context.ReadValue<T>();
	}
	return _handler;
}
...
最后附上完整代码:
using System;
using System.Collections;
using System.Collections.Generic;
using UnityEngine;
using UnityEngine.InputSystem;
using UnityEngine.InputSystem.Controls;
using UnityEngine.InputSystem.EnhancedTouch;
using UnityEngine.InputSystem.Utilities;


public class Reference<T>
    where T : struct
{
    public T Value { get; set; }
}
public class InputSystemAgent : MonoBehaviour
{
    static InputSystemAgent _instance;
    public static InputSystemAgent Instance => _instance ??= FindObjectOfType<InputSystemAgent>();
    [SerializeField]
    private InputActionAsset defaultInputAsset;
    private void Awake()
    {
        _instance = this;
        EnhancedTouchSupport.Enable();
        var actions = defaultInputAsset.actionMaps[0].actions;
        defaultInputAsset?.Enable();
        ConfigureActions(actions);
    }
    private void ConfigureActions(ReadOnlyArray<InputAction> actions)
    {
        foreach (var action in actions)
        {
            if (action.name.StartsWith("Key"))
            {
                var keyName = action.name["Key".Length..];
                _key[keyName] = null;
                RegisterHandler(action, CreateOnKeyEvent(keyName));
            }
            else
                switch (action.name)
                {
                    case nameof(ViewMove):
                        RegisterHandler(action, CreateValueEvent(_viewMove));
                        break;
                    case nameof(FlyMove):
                        RegisterHandler(action, CreateValueEvent(_flyMove));
                        break;
                    case nameof(NormalMove):
                        RegisterHandler(action, CreateValueEvent(_normalMove));
                        break;
                    case nameof(DesiredDistance):
                        RegisterHandler(action, CreateValueEvent(_desiredDistance));
                        break;
                    default:
                        Debug.LogWarning($"Unhandled Action {action.name}");
                        break;
                }
        }
    }

    public static float DesiredDistance => Instance._desiredDistance.Value;
    public static Vector2 ViewMove => Instance._viewMove.Value;
    public static Vector2 NormalMove => Instance._normalMove.Value;
    public static Vector3 FlyMove => Instance._flyMove.Value;
    public static IReadOnlyDictionary<string, ButtonControl?> Key => Instance._key;
    private readonly Dictionary<string, ButtonControl?> _key = new();
    public static bool GetKey(string key) => Key[key]?.isPressed ?? false;
    public static bool GetKeyDown(string key) => Key[key]?.wasPressedThisFrame ?? false;
    public static bool GetKeyUp(string key) => Key[key]?.wasReleasedThisFrame ?? false;
    private readonly Reference<float> _desiredDistance = new();
    private readonly Reference<Vector2> _viewMove = new();
    private readonly Reference<Vector2> _normalMove = new();
    private readonly Reference<Vector3> _flyMove = new();

    private void RegisterHandler(InputAction action, Action<InputAction.CallbackContext> handler)
    {
        action.performed += handler;
        action.started += handler;
        action.canceled += handler;
    }
    private static Action<InputAction.CallbackContext> CreateValueEvent<T>(Reference<T> writeTo)
        where T : struct
    {
        void _handler(InputAction.CallbackContext context)
        {
            writeTo.Value = context.ReadValue<T>();
        }
        return _handler;
    }
    private Action<InputAction.CallbackContext> CreateOnKeyEvent(string key)
    {
        void _handler(InputAction.CallbackContext context)
        {
            _key[key] = context.control as ButtonControl;
        }
        return _handler;
    }
}
将Agent加到场景
把它随便放在一个启用了的GameObject里就可以,记得填上InputActionAsset。
切换到新的API
对于按钮事件,直接用新调用替换之即可。对于轴事件,可能需要手动调整向量的各个分量对于原始轴的映射和比例。
例如,在这个例子里,新的DesiredDistance需要被缩小1200倍才能适配原有的灵敏度。具体的放缩倍数,可以打Log得到,这个很容易想到吧!

